Do you ever feel overwhelmed by endless manual (and menial) tasks in your photography business? Have client management challenges ever led to disappointed clients or misaligned expectations?
As a photographer, your goal isn’t just to capture moments; it’s to create unforgettable experiences for your clients. But let’s face it – managing the behind-the-scenes workflow as a photographer can sometimes feel like an exhausting game of whack-a-mole, leaving little time for what you truly love.
You want to consistently wow your clients, ensuring clear and efficient communication and top-notch service. At the same time, you don’t want to be weighed down by the operational complexities of your business. That’s where automation becomes your ally.
In this article, you’ll learn how to:
- Automate your client communications to ensure nothing slips through the cracks.
- Streamline your business processes to free up more time for your photography.
- Implement a robust workflow engine that lets you manage your business effortlessly.
Why you need a map to wow your clients
If you want to wow your clients and automate your workflow, you’ve got to build a blueprint first. You need to map out what you want to do before diving into implementation.
That birds eye view will help you get clarity on what you want to say and when to say it.
This is called experience design. Or customer journey mapping. You’re going to create a timeline of what it looks like for your clients – from their perspective – to work with you.
Step 1: Understand things from your client’s perspective
Start from your client’s perspective. Understand their thoughts, feelings, and actions as they experience their photography journey with you.
Step 2: Define key milestones in your client’s photographic journey
Identify the crucial moments in your client’s journey from the moment they engage with you as their photographer. For example, this might be:
- When they meet with you
- When they book you
- Their session
- When you meet with them to review their photos
- When you deliver the finished product
Step 3: Plan the actions you want to take as the photographer
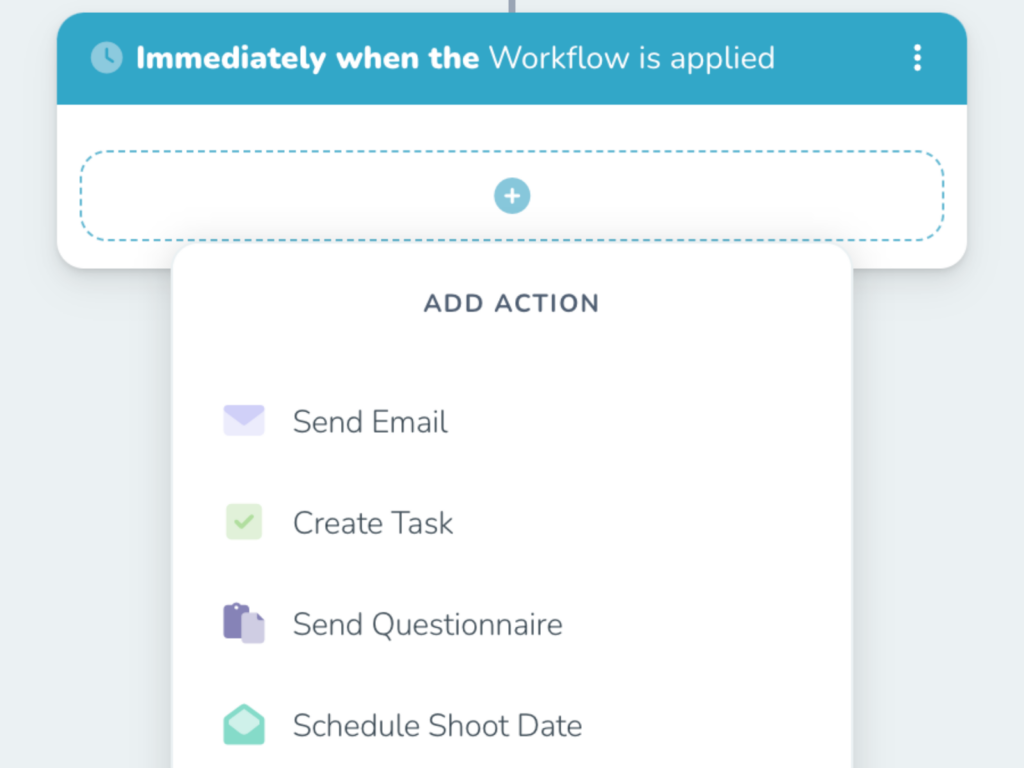
For each milestone, determine what you want to do before and after that milestone. For example, you might want to:
- Remind yourself to do something by creating a task.
- Send a questionnaire to collect details.
- Set expectations by sending an email.
- Send a text message.
- Call the client.
- Schedule an appointment or follow-up.
Step 4: Set the specific timing so you know when you’re doing each action
Decide when things should occur in relation to the milestone. For example, you might want to do something:
- 2 days after your client books you
- 2 weeks before the shoot
- 1 day after the shoot
Step 5: Plan follow-ups
Consider any follow-up actions after doing the initial actions. For instance, after sending a questionnaire, you might want to follow up with an email providing more details.
Free fill-in-the-blank photographer workflow template
You can see that by mapping out your client journey “on paper” first, you gain a lot of clarity and perspective. Doing this first will guide you through creating a remarkable client experience as a photographer, wowing your clients every time and avoiding misaligned expectations.
We created a free fill-in-the-blank photographer workflow template that you can download and fill out. It has simple prompts that will help you map out your client experience before getting into a tool like Sprout Studio to implement it.
Here’s a bonus how-to video tutorial, walking you through how to use it:
Turning your client journey map into a Sprout Studio Workflow
The last step is to automate your workflow by implementing it into a repeatable system. Set it and forget it.
Sprout Studio is a great way for you to do that.
Watch a demo on how to build out a workflow (following the above steps) in Sprout Studio here.
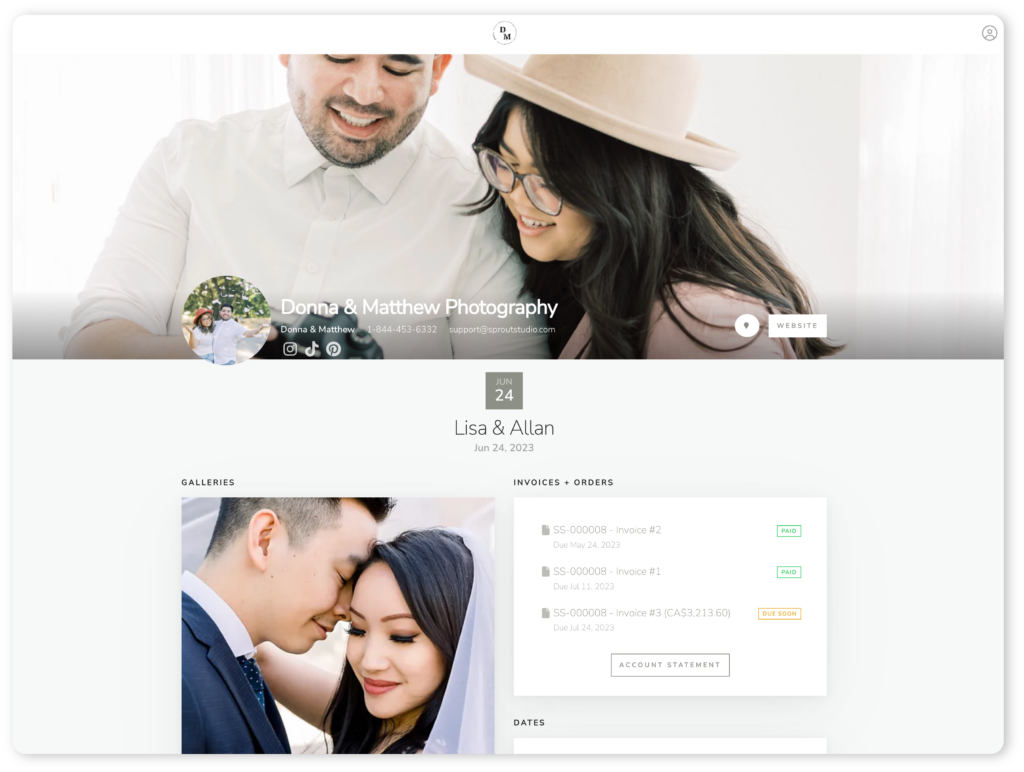
This is an all-in-one system for photographers, which gives you all the tools you need to run your business in one place:
- CRM – Get organized, save time and deliver a remarkable experience.
- Invoicing – Simplify and automate how your clients pay you.
- Contracts – Easily sign legal contracts with your clients with ease.
- Bookings – Book your clients while you sleep and even allow them to self-book sessions!
- Scheduling – Schedule meetings and sessions without the back-and-forth.
- Questionnaires – Ask your clients questions, get feedback, be better prepared
- Galleries – Beautifully show, share and sell your photos with clients.
- Email marketing – Design stunning emails and effortlessly create email campaigns.
- Album proofing – Get feedback and collaborate with clients on album designs.
- AI – The power of AI built into Sprout – write emails, create questionnaires and more!
- Reports and analytics – Learn more about your business health and analyze your growth.
There’s also a free 14-day trial that you can start to see if Sprout will be a good fit for you!