You’re on the search for a photography CRM, and you’re thinking that Sprout Studio might be the studio management system you’ve been looking for.
Maybe you’re looking for a demo (psst – we’ve got lots here!) or want to know more about setting up and transitioning from the CRM you’re using now. Maybe you’re not using a CRM at all, and Sprout Studio will be the first one you use! Or perhaps you’re still just not sure if Sprout Studio is going to be for you and want to learn more about what it looks like and how hard (or not) it is to set up.
In this article, you’ll learn how to set up and transition to Sprout Studio as your CRM.
Why Sprout Studio
Let’s get the elephant out of the room – you became a photographer because you love photography. Along the way, you’ve learned that success is more like 80% business and 20% photography, though, right?
Hey, I get it!
I’ve been a professional photographer in Niagara, Ontario, for almost two decades. I’ve seen too many great photographers fizzle out. That’s why, for over 12 years, I’ve been teaching photographers like you about the business side of being a photographer. It’s how I came up with the idea for Sprout Studio – to scratch my own itch (and yours)!
Let me share my “dream” with you for a moment.
At Sprout, we want to be the heartbeat of every photographer’s business. We envision a world where photographers are liberated from stress, anxiety, and the overwhelming aspects of business management, allowing them to focus on their passion.
We want to help you make a living doing what you love.
You see, Sprout Studio is different – by design – because you get all the apps you need in one place. That’s what makes Sprout different. You get a CRM, invoicing, contracts, bookings, scheduling, questionnaires, galleries, email marketing, album proofing, AI tools, reports and so much more in one single, seamless platform specifically designed for photographers!

“I have used many other platforms but none had everything I needed in one place. I would invoice a customer here, send a gallery from there, manage a calendar in yet another place. Now, I have all of that and sooo much more in ONE PLACE. It is such a critical part of my business and I’m grateful!” – Marc Smith (@imagesbymarcanthony)
And since you get all these apps in one place with Sprout Studio, you can automate your entire client journey, spend less time manually piecing things together, be more organized and give your clients a more consistent and cohesive experience.
How Sprout Studio works – the basics and Sprout 101
Ok, ok. Maybe you just want to know and understand how Sprout works. Perhaps you’re wondering – what’s the workflow like? What do I see? What do my clients see? How does it integrate into my business?
Let’s establish this first – Sprout Studio is made for photographers – by photographers – so it follows the flow of how things run in your actual business! So it’ll fit in perfectly.
Let’s walk through a typical client experience.
Someone hears about you and visits your website.
They love what they see – how couldn’t they, right? You’re a great photographer!
So, they fill out a form on your site to get in touch. That form is called a Contact Form, which you build in Sprout and embed onto your website.
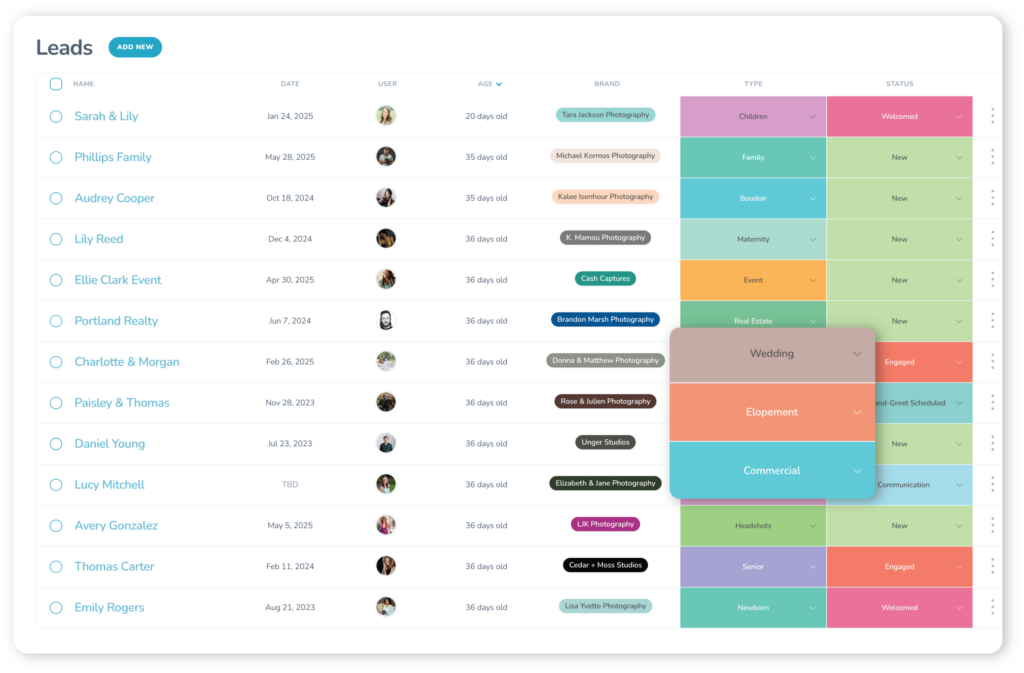
Now, they’re automatically added as a Lead in Sprout. They’re an inquiry. A potential booking.
Amazing.
You chat back and forth, meet with them, and eventually, they decide to book you.
Now, you prepare a Booking Proposal in Sprout. You give them choices of which package to book, specify a contract and payment terms, and send it to them. They sign and pay. You counter-sign. Now they’re a booked job – we call that a Shoot in Sprout.
You keep their experience streamlined and consistent with a Workflow so they get the right email and the right Questionnaire, and you have the right tasks at the right time. They’re automatically guided through the experience with you and get reminders about everything – upcoming invoices, dates, questionnaires they didn’t fill out, and more. Their experience is smooth and seamless because you have a CRM that helps you make sure things don’t slip through the cracks.
You’re a rockstar.
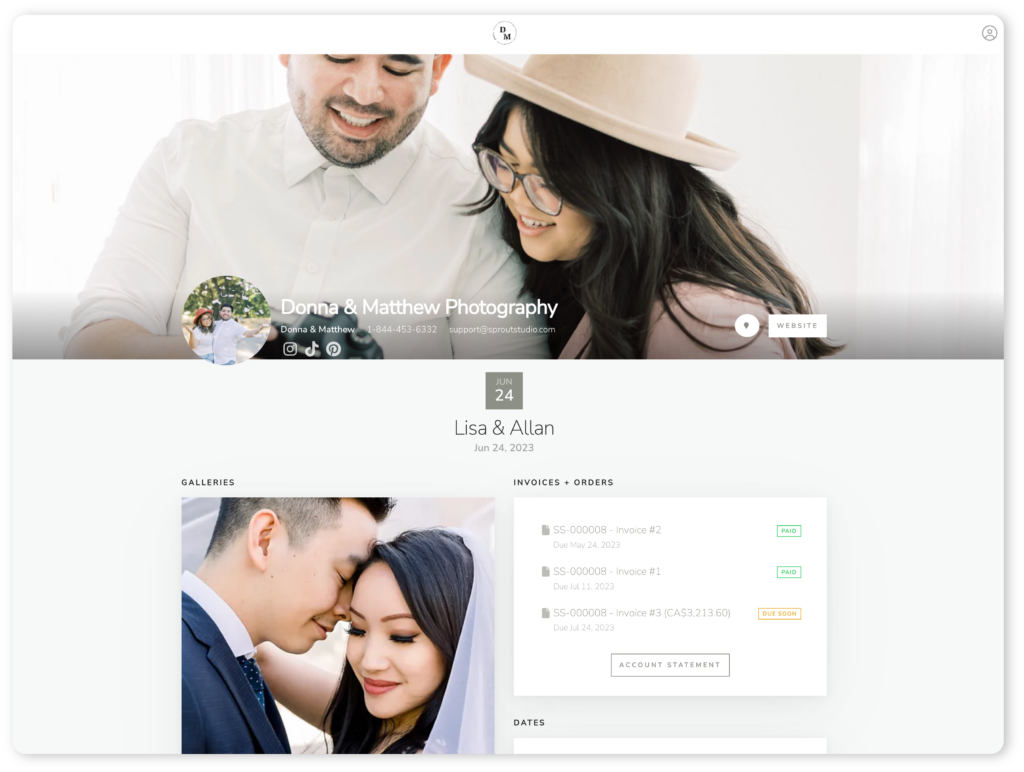
You do the work they paid you for – take their photos (whatever kind of photos they are) – and then send them their Gallery in Sprout. They can download them, order prints, share them on social media, and so on.
Of course, that’s not it.
There’s so much more you can do in Sprout, like email marketing, album proofing, and using built-in AI tools. But this gives you a quick snapshot of what your client experience can look like when you use Sprout Studio.
Preparing for your CRM transition to Sprout Studio
Does this sound like the kind of experience you’d like to give your clients? You can!
Let’s talk about how to set yourself up for success with a CRM like Sprout Studio. Here is a checklist of 9 things you need to have prepared before starting to set things up in-app:
- Get your branding organized – your logo, preferred branding colours, etc.
- Curate your portfolio – your favourite 5-10 images to showcase if/when you need them.
- Take a new headshot for your profile photo in-app and for clients.
- Organize your pricing and offerings – what do you charge for your services and products?
- Gather your email templates – if you have any – to add them to your CRM.
- Gather your contracts so you can easily input them.
- Map out the questionnaires you’d like to ask clients for various services.
- Choose a payment processor – Square, Stripe or PayPal for collecting money.
- Decide what kind of payment plan you want to offer your clients for various services.
Once you have this all prepared, you can move in-app to setting up your CRM. Let’s walk through the step-by-step guide to setting up Sprout Studio.

“I have come from Tave, Irisworks, 17Hats, Google Docs, pen and paper…Sprout has been the easiest to set up and the easiest to understand.” – Dania Cueto (@daniacuetooncue)
The step-by-step guide to setting up Sprout Studio
Go through Startup Wizard
When you sign up for your Sprout Studio trial, the first thing you do is walk through Startup Wizard. This takes 3-5 minutes and guides you through setting up the basics—your contact info, your branding details, your payment methods, and so on.
Add your Shoot Types
In Sprout, each “type” of photography you offer is called a Shoot Type. To stay organized with your Leads and Shoots, you’ll want to go into your Settings and add all of the Shoot Types you offer.
If you were thorough in Startup Wizard, this would have already been done, though!
Let’s call it a freebie, then?
Build a Contact Form
Remember your Contact Form from earlier? That’s the logical next step. You create your Contact Form using our drag-and-drop form builder and then copy-and-paste the embed code on your website so that visitors to your website can fill it out and automatically become Leads in Sprout.
Set up your Price List
Your Price List lets you set up and price all of your offerings – prints, products, services, and packages. Setting up your pricing in a new system can feel like a lot, which is why it makes sense to be prepared and organize things ahead of time.
Many photographers use this as an excuse – and the perfect opportunity – to rethink their pricing and make sure they are charging what they want to be charging.
Integrate your Payment Processor
Of course, you want to get paid. If you didn’t set up your Payment Processor in Startup Wizard earlier, you’ll want to do that now. That way, clients can pay you! Sprout integrates with Square, Stripe and PayPal and takes zero commission!
Add your Contract templates
When you set up your Contract templates, you do the work once and then can reuse them over and over again. That’s a big theme in Sprout. Templates – emails, Questionnaires, and more – are a great way to shave hours off your workweek by eliminating unnecessary work.
Next steps with Sprout Studio
Yup … that’s how simple it can be to get started!
But it all starts with the first step. Getting into your free trial. Hop in now and see if it’ll be a good fit (we’re sure that it will be) – we’ll see you on the inside!


